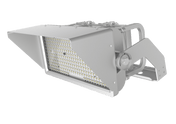
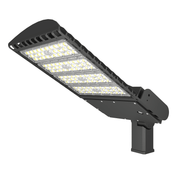
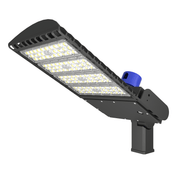
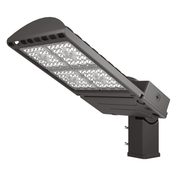
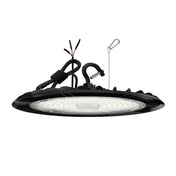
LED UFO high bay lights are widely used in industrial lighting due to their high efficiency, energy efficiency, and long lifespan. However, proper installation and maintenance are crucial to ensuring proper operation, extending service life, and maintaining effective lighting. This article will provide detailed installation steps and maintenance tips for LED UFO high bay lights.
Preparation Before Installation
Before installing an LED UFO high bay light, thorough preparation is required. First, gather the necessary installation tools and materials, such as a drill, screwdriver, expansion screws, boom, and wires, based on the desired installation location and method. Also, check the packaging for damage and accessories.
Second, survey the installation location to ensure it can support the weight of the light and that there are no flammable or explosive materials nearby. For pole-mounted lights, ensure the boom is of the appropriate length to hang the light at the desired height. Before making any electrical connections, be sure to turn off the power supply to ensure safe installation.
Correct Installation Steps
Different installation methods require different installation steps. For a suspended rod installation, the specific steps are as follows:
1. First, secure one end of the suspended rod to the fixture's mounting base, ensuring a tight connection and no loosening.
2. Then, determine the installation location on the ceiling or beam according to the desired installation height, drill a hole with an electric drill, and insert an expansion screw.
3. Secure the other end of the suspended rod to the expansion screw and adjust the verticality of the suspended rod to ensure the fixture hangs smoothly.
4. Make the electrical connections: Connect the fixture's power cord to the power supply line, ensuring the live, neutral, and ground wires are properly connected to avoid short circuits and electrical leakage.
5. After completing the connections, check that all connections are secure and the electrical wiring is functioning properly. Then, connect the power supply and test whether the fixture is illuminating properly.
For ceiling and wall mount installations, the steps are relatively simple, but again, ensure a secure installation and correct electrical connections.
Daily Maintenance and Troubleshooting
Daily maintenance is crucial to extending the life of your LED UFO high bay light. Regularly clean the lamp's surface to remove dust and dirt, ensuring optimal light transmittance and lighting performance. When cleaning, first disconnect the power cord and wipe with a soft cloth or feather duster. Avoid using water or corrosive detergents.
Regularly check that the lamp is securely installed and that all components, such as the boom and bracket, are not loose. Tighten any loose components immediately. Also, check the electrical connections for signs of aging or damage. Replace any problems promptly.
If the lamp fails to illuminate during use, first check the power supply and fuse. If the power supply is normal, the driver or LED chip may be faulty. Contact a professional for repair or replacement. Never disassemble the lamp yourself.
Also, avoid operating the lamp in environments exceeding the rated voltage and temperature to avoid affecting its life and performance. In high-temperature environments, appropriate heat dissipation measures should be implemented, such as adding ventilation equipment.
In short, proper installation and scientific maintenance are key to ensuring the long-term and stable operation of LED UFO high bay lights. Only by doing this can the advantages of LED UFO high bay lights be fully realized, ensuring continuous and stable lighting for industrial production.


